|
⇤ ← Revision 1 as of 2013-04-18 20:41:08
Size: 1673
Comment:
|
Size: 1673
Comment:
|
| Deletions are marked like this. | Additions are marked like this. |
| Line 49: | Line 49: |
| '''9)''' If you want to terminate the connection click on the TUnnelblick icon in the menu row again and choose Disconnect. | '''9)''' If you want to terminate the connection click on the Tunnelblick icon in the menu row again and choose Disconnect. |
OpenVPN on Mac OS X
This howto was prepared and tested on Mac OS X, version 10.7.5.
Install the client
1) Download the Tunnelblick installation image (DMG) from here:
https://code.google.com/p/tunnelblick/wiki/DownloadsEntry?tm=2#Tunnelblick_Beta_Releases
Users of Mac OS X 10.8.x should go with the beta version. Users of Mac OS X 10.7.x can choose to download the stable version instead.
2) Open the Tunnelblick_XXX.dmg file.
3) Double click the Tunnelblick icon.
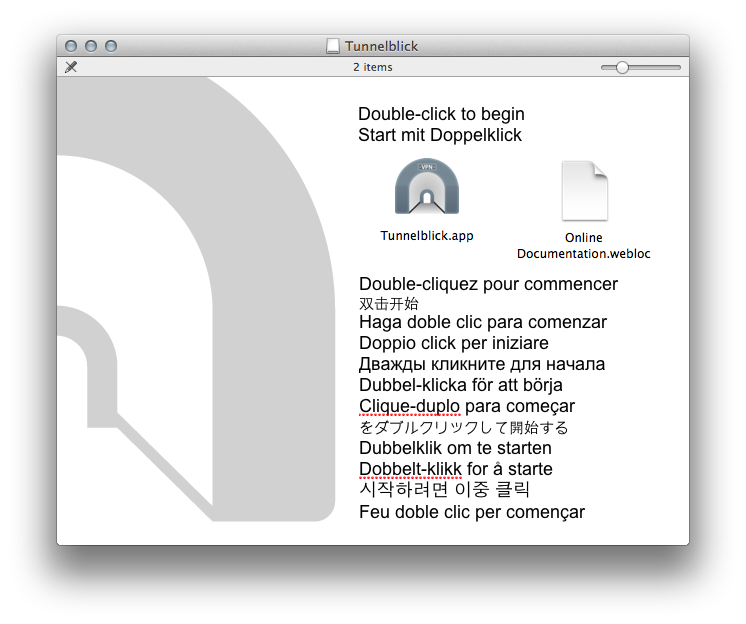
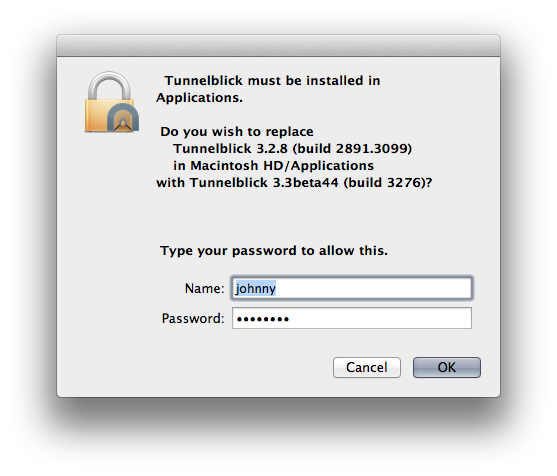
The installer will ask you for administrative rights. Please enter your username/password when prompted.
4) When asked choose to launch Tunnelblick.

Set up the connection
5) If you have not done this already this would be a great time to unzip the file containing your certificate and the connection configuration. Use the file named USERNAME_mac.zip.
6) Double click the Tunnelblick file included in the zip file. In case your finder is set to display the extensions of all files it will show up as a .tblk file.

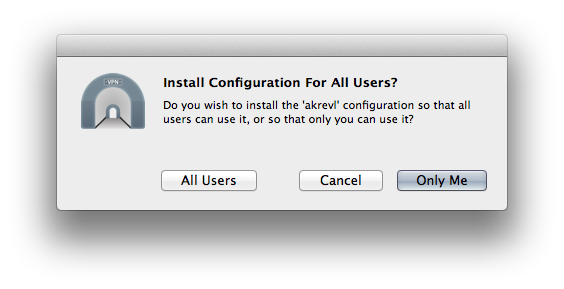
7) Select Only me when prompted if you would like to install the configuration for all users.
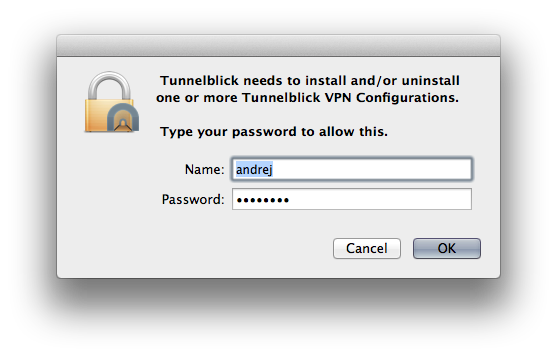
Enter your credentials when prompted for administrative access.
8) Click on the Tunnelblick icon in the menu row and select your connection to connect.
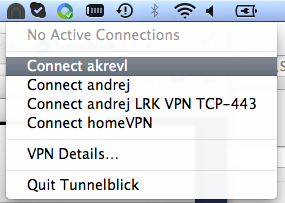
9) If you want to terminate the connection click on the Tunnelblick icon in the menu row again and choose Disconnect.
 Infolab wiki