Installing HP LaserJet 500 color on Windows
This document contains the steps necessary to install the printer on Windows 7.
1) Open the Devices and Printers pane in Control Panel.
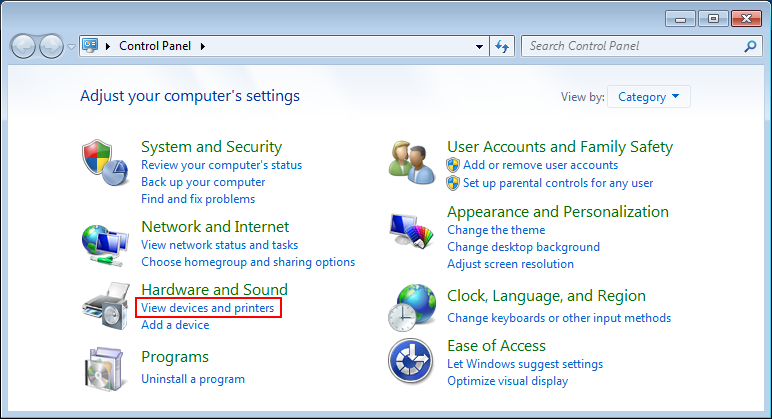
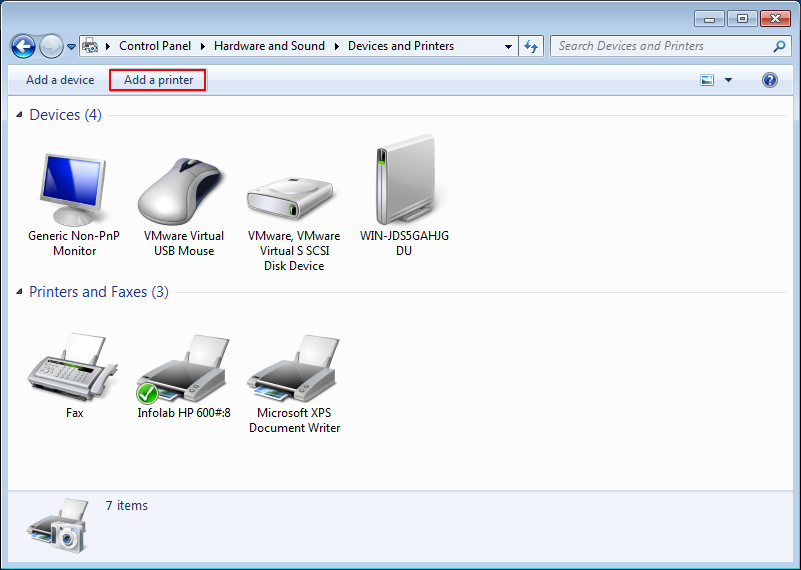
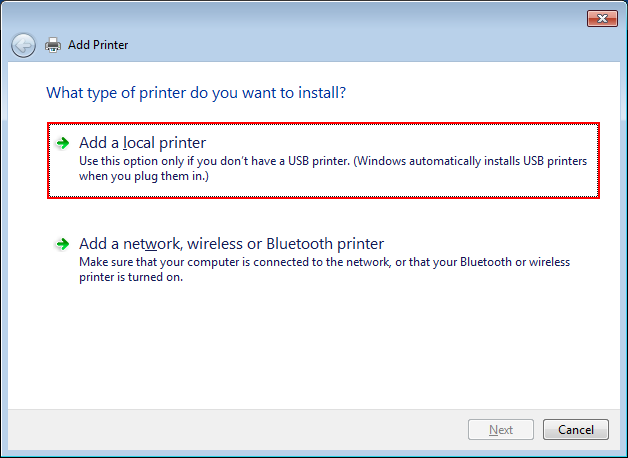
2) Click the Add a printer button. In the presented dialog select Add a network, wireless or Bluetooth printer.
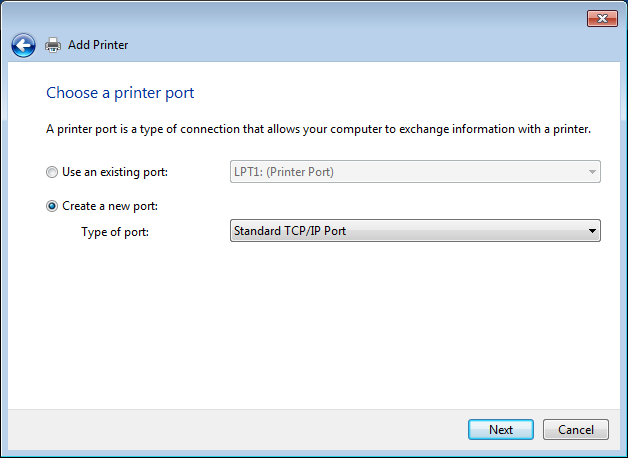
3) Without waiting for Windows to complete its search, you can click on The printer that I want isn't listed.
4) Click Select a shared printer by name and enter the following URI: http://ilhp500c.stanford.edu:631/printers/ilhp500c. Click on the Next button to proceed.
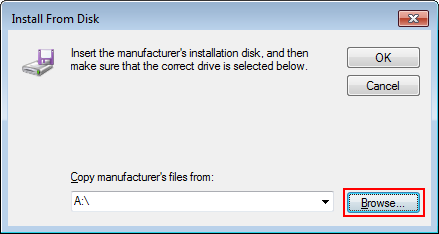
5) Click on the Have disk ... button.
6) Browse to the directory where the files you have unzipped in step 1) are.
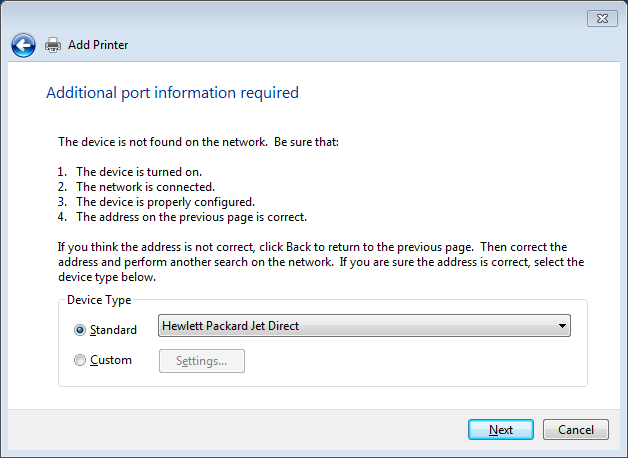
7) Select HP LaserJet 500 color M551 PCL6 from the list and click OK to continue.
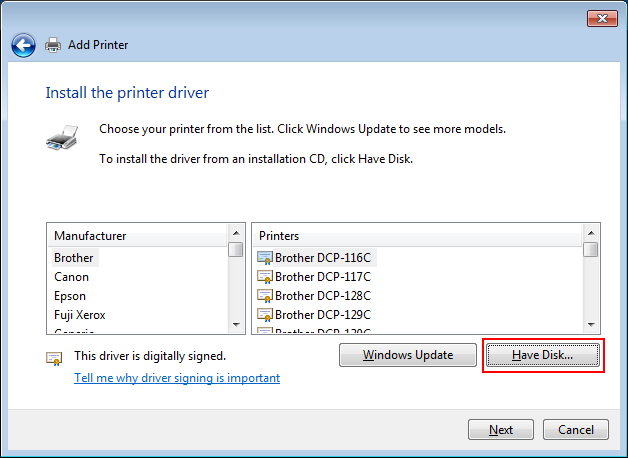
Select HP from the Manufacturer list and HP Color LaserJet CP5220 Series PCL6 from the Printers list. We know this is not the right model, but it works just fine.
6) Sorry, you cannot change the somewhat long printer name. Click Next to Finish the setup.

7) Right-click the installed printer and choose Printer properties.

8) On the Device Settings tab make sure that your paper size is set to Letter. Make sure you change the Duplex Unit setting to Installed. Set the Printer Memory to 384 MB. Change the setting of Printer Hard Disk to Installed. Click OK once you are done.
9) Congratulations the printer is now installed and ready for use. Make sure you select two-sided printing whenever you can to save the supplies and the environment.
 Infolab wiki