Installing HP LaserJet 600 on Ubuntu
This document contains the steps necessary to install the printer on Ubuntu GNU/Linux 12.04.
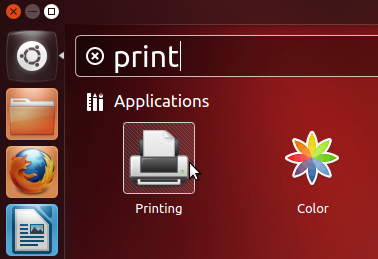
1) Open the printing application.
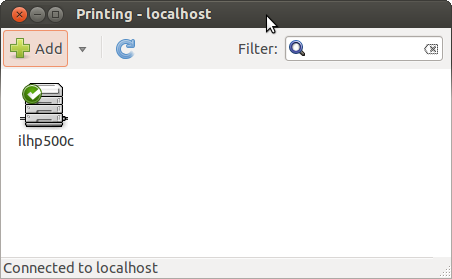
2) Click Add.
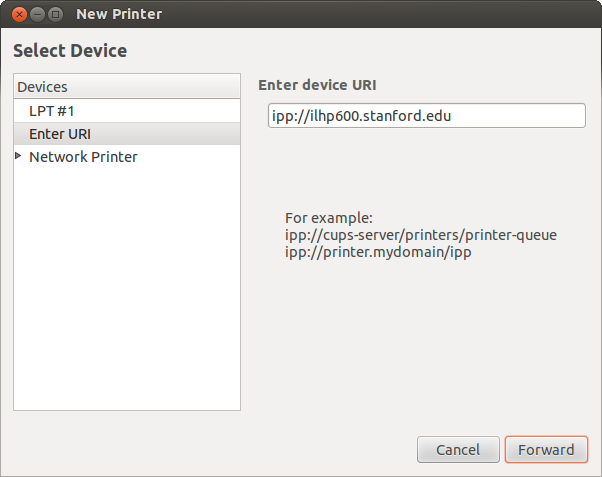
3) Select Enter URI, enter ipp://ilhp600.stanford.edu and click Forward.
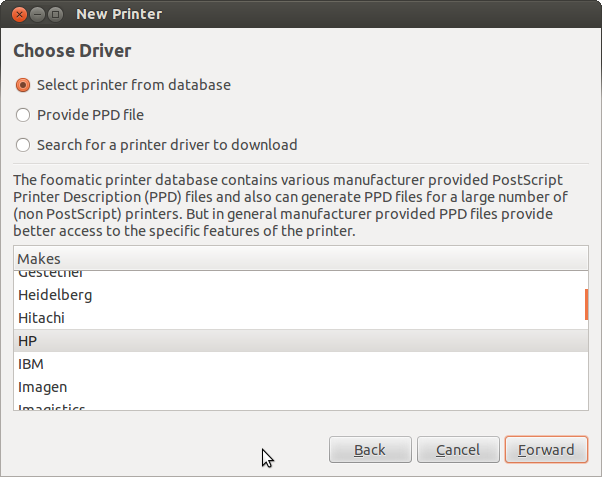
4) Select the option Select printer from database, choose HP and click Forward.
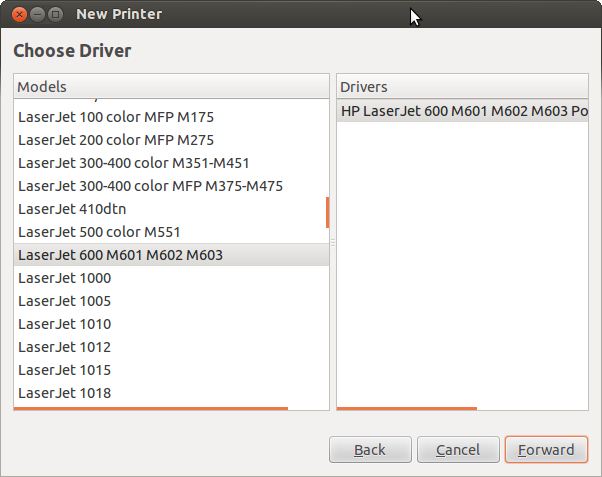
5) Select LaserJet 600 M601 M602 M603 from the list of models on the left and select HP LaserJet 600 M601 M602 M603 PostScript from the Drivers list on the right. Click Forward.
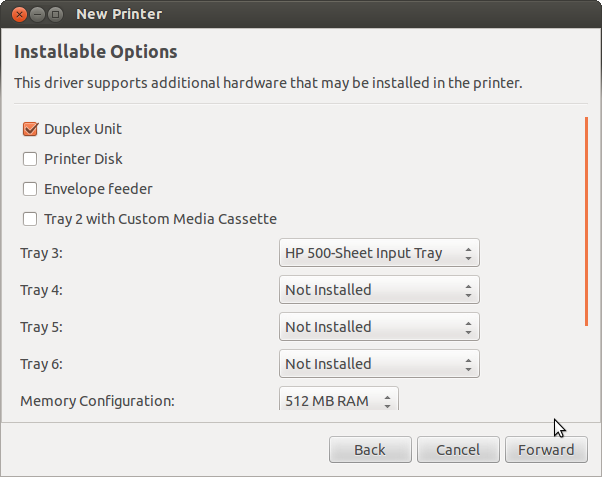
6) Make sure that Duplex Unit setting is checked. Select HP 500-Sheet Input Tray for the Tray 3 option. Set the Memory Configuration to 512 MB and click Forward.
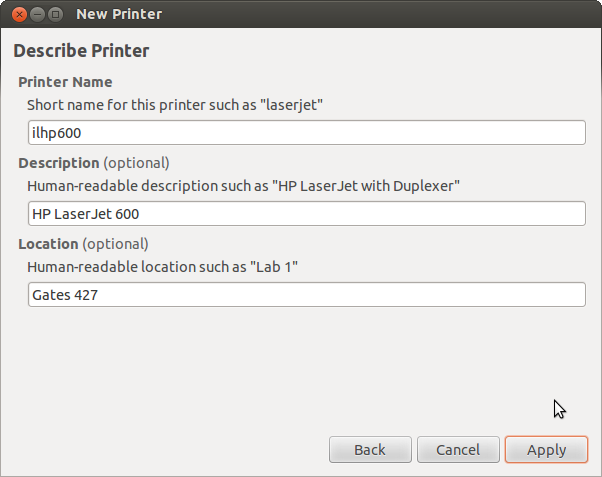
7) Enter ilhp600 for the short name, HP LaserJet 600 for the description and Gates 427 as the location. Feel free to enter your own values that will help you identify the printer in the future. Click Apply to proceed.
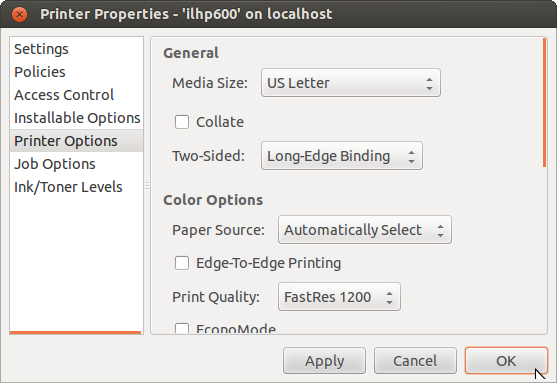
8) Right click the ilhp600 printer in the printing application and select Properties. Select Printer Options from the list on the left and change the selection Two-sided to Long-Edge Binding to enable duplex printing by default.
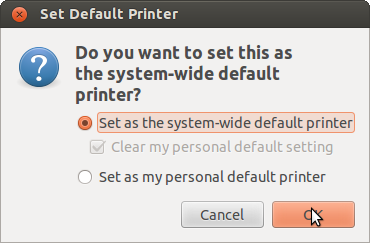
9) You might want to set this printer as your default printer. Right click the ilhp600 printer in the printing application and choose Set As Default from the menu. Select Set as the system-wide default printer from the pop-up windows and click OK.
10) Congratulations the printer is now installed and ready for use.
 Infolab wiki