Installing HP LaserJet 600 on CentOS
This document contains the steps necessary to install the printer on CentOS 6.3 GNU/Linux.
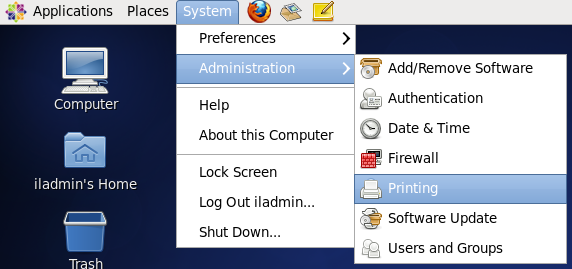
1) Select System, Administration, Printing from the menu.
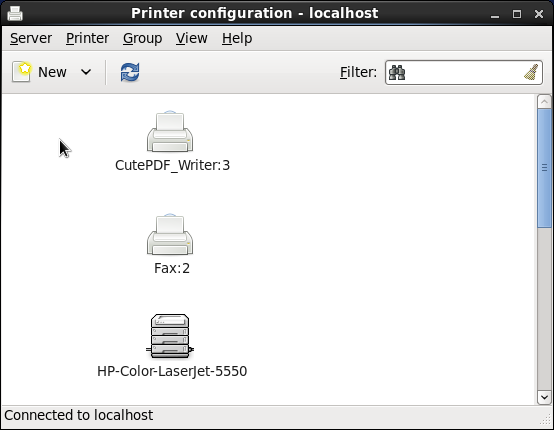
2) Click New.
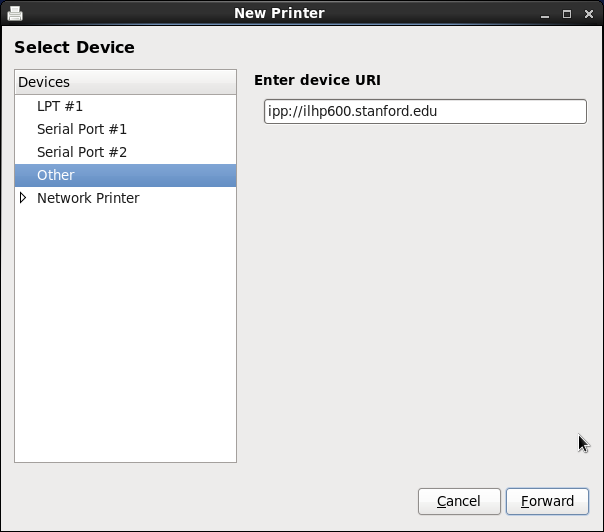
3) Select Other from the Devices list, enter ipp://ilhp600.stanford.edu and click Forward.
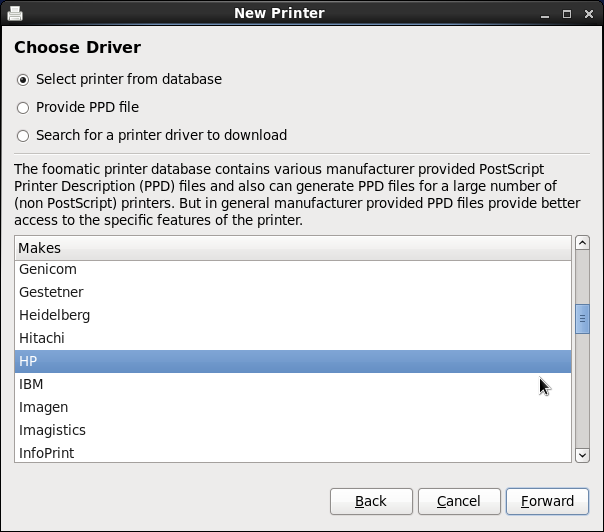
4) Select the option Select printer from database, choose HP and click Forward.
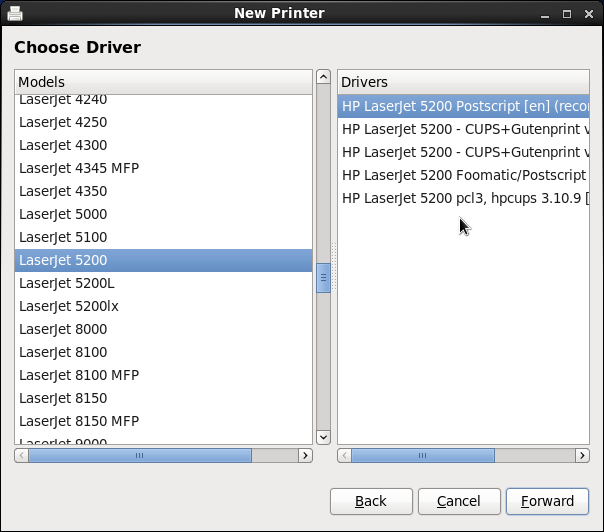
5) Select LaserJet 5200 from the list of models on the left and select HP LaserJet 5200 Postscript ... from the Drivers list on the right (we realize this is not the correct model of the printer but it is less tedious to select this one than to install the latest hplip). Click Forward.
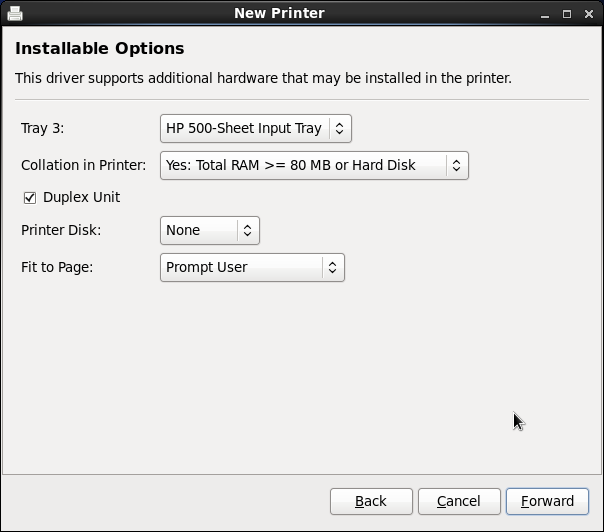
6) Select HP 500-Sheet Input Tray for Tray 3 and set Collation in Printer to Yes: Total RAM >= 80 MB ... Make sure that the Duplex Unit box is checked and continue by clicking Forward.
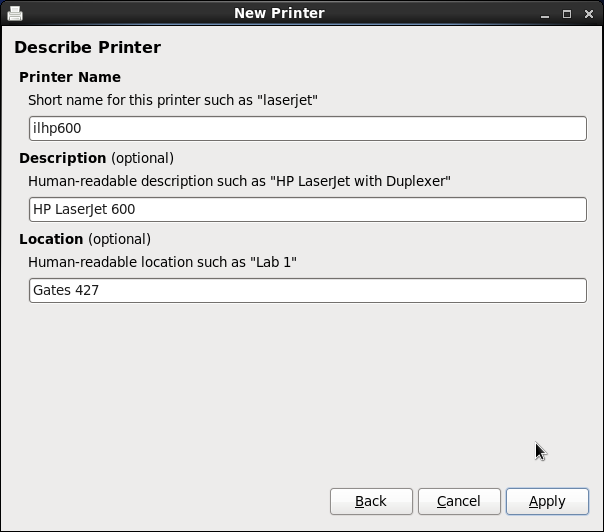
7) Enter ilhp600 for the short name, HP LaserJet 600 for the description and Gates 427 as the location. Feel free to enter your own values that will help you identify the printer in the future. Click Apply to proceed.
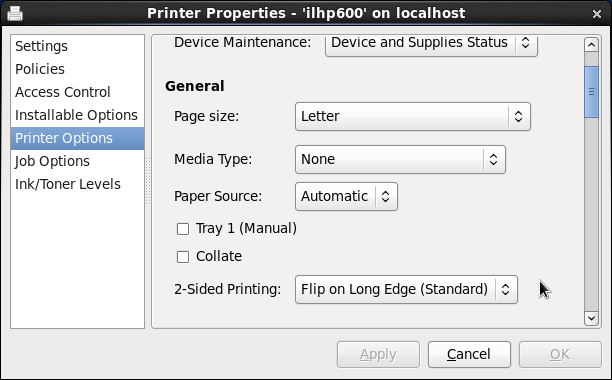
8) Right click the ilhp600 printer in the printing application and select Properties. Select Printer Options from the list on the left and make sure that Flip on Long Edge is selected for the 2-Sided Printing optionBinding option and that the Manual Duplex option is not checked. This will enable duplex printing by default.
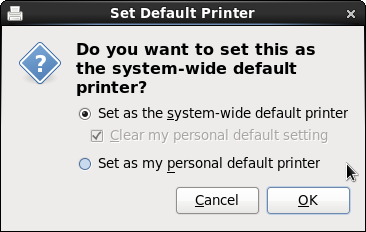
9) You might want to set this printer as your default printer. Right click the ilhp600 printer in the printing application and choose Set As Default from the menu. Select Set as the system-wide default printer from the pop-up windows and click OK.
10) Congratulations the printer is now installed and ready for use.
 Infolab wiki